Adding Loan Statuses
You can increase the granularity of loan statuses on the Loan Status setup page.
This functionality lets you create extra statuses to use
throughout the application that are still tied to the standard types of loans.
-
Select
 Add to insert a new row in the grid.
-
Enter a name for the new Status.
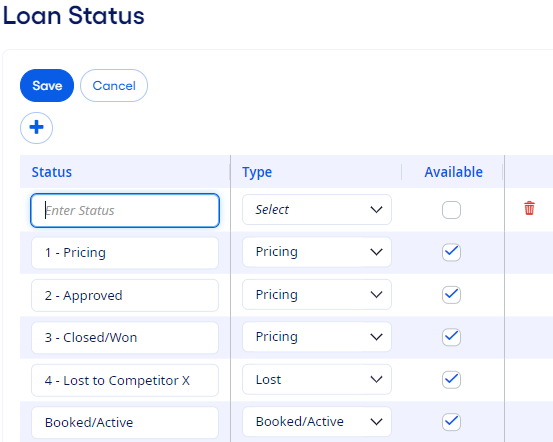
For example, you can create the following statuses and assign them all to the Requires Approval type:
- Sent to Loan Committee
- Sent to Senior Loan Committee
- Sent to Regional Lender
These additional statuses provide additional tracking for loans through the approval process.
You can change the name of a
Status or its Type at any time. You can clear
the Available check box for any statuses that are no longer
used.