You can set up caps and floors for
floating-rate or adjustable-rate loans on the Pricing
Opportunity page.
-
Select .
-
Expand a floating-rate or adjustable-rate loan on the Loans page to see the loan details.
-
Select View Pricing Opportunity.
The Pricing Opportunity page
opens.
-
Select the Rate Type panel.
-
Define the Rate Type.
-
Select View in the Caps & Floors
field.
The Caps & Floors page opens.
The instrument's Expected Life shows for reference
purposes.
-
Select
 Add to define the initial set of rate limits.
-
Enter an Interval value to indicate the number of
months that the first set of cap and floor rates constrains the instrument's interest
rate.
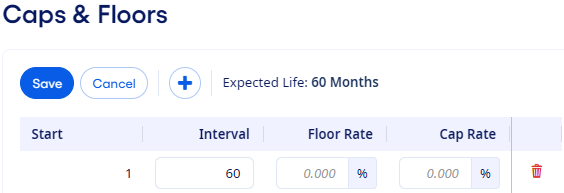
For a floating-rate loan, caps and floors are applied beginning in the
instrument's first month with the Interval value set
to the loan's Expected Life.
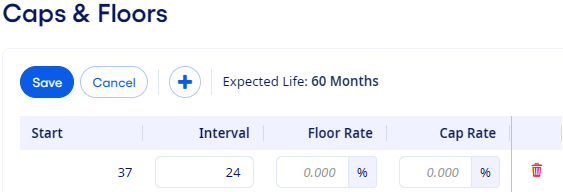
For an adjustable-rate loan, the first Interval value defaults to the number of months remaining after the
initial period. For example, if the instrument's initial period is 60 months, then the
addition of caps and floors cannot start until month 37.
-
Enter a Floor Rate value that is more than 0.000
percent and less than the Cap Rate.
-
Enter a Cap Rate value that is higher than the
Floor Rate and less than 100 percent.
-
Select
 Add to set up subsequent or final rate limits as needed.
Tip You can add multiple rows.
Each new row appears at the end of the table.
-
Enter an Interval, Floor
Rate, and Cap Rate value for all
rows.
Note The sum of the Interval values must
equal the instrument's Expected Life.
You can select  Delete to remove a row.
-
Select Save.
-
Select Cancel to return to the Pricing
Opportunity page.
The Caps & Floors check box in the
Review of Loan panel is selected when you close the
Caps & Floors page.
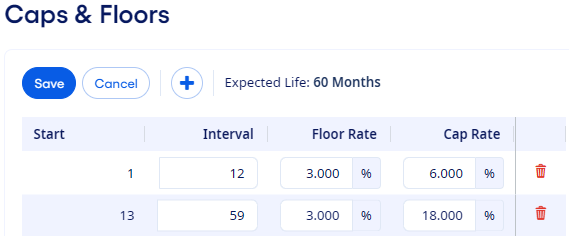
Example: Starting in month one, the initial floor and cap constrains the
instrument's rate for a 12-month interval. Then, in month 13, the instrument's floor and cap
changes to the provided values for the remaining life of the instrument.


