Merging Relationships
You can merge two or more user-defined relationships into a single relationship on the Manage Relationships page.
After you merge user-defined
relationships into a single relationship, the single relationship shares all the assigned
customers/members.
-
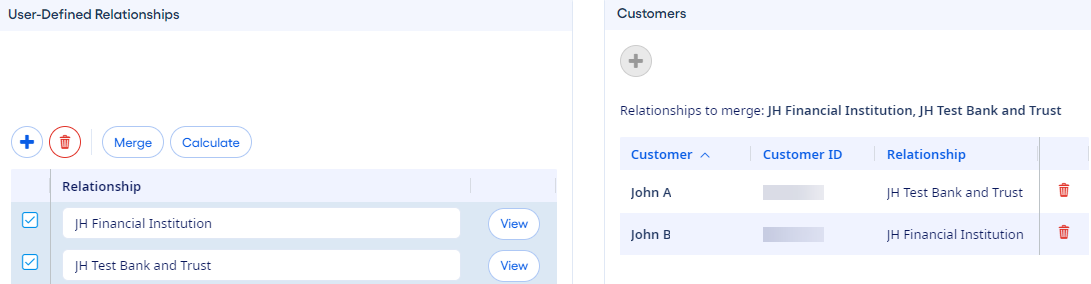
Identify the relationships to merge and select each
 check box in the Relationship list.
A combined list of relationship names and customers/members appears. Customer/Member names can appear multiple times in the Customers/Members list if they are assigned to all the selected relationships to merge.
-
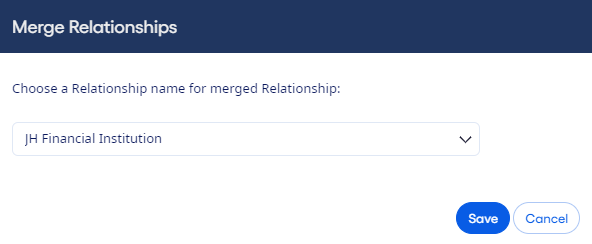
Select Merge.
The Merge Relationships dialog box opens.
When the merge is complete, the final
merged name remains in the Relationship list. The names of
the other relationships involved in the merge process are removed from the list. Duplicated
customer/member names are removed from the merged Customers/Members list.