Mapping Data Fields
You can map a new or existing field for a data file on the File Layout Setup page for the daily update process and monthly update process.
-
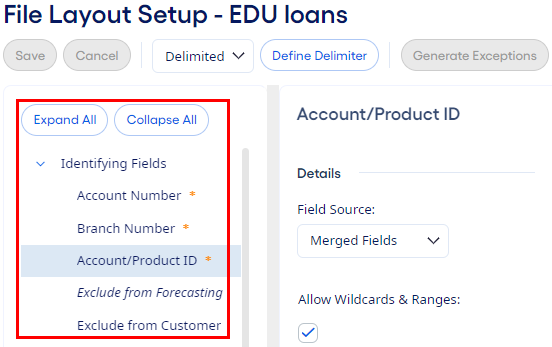
Select the field to map from the field list.
Required fields are noted with an asterisk. Required fields can change based on the selected file layout and which modules the institution is licensed for. If a required field is not mapped, then exceptions can occur.
-
Select an option from the Field Source drop-down list.
- Field Not Used
- Select this option if the field is not in the data file or you do not need to map it.
- From Expression
- Select this option to use a formula to map the data. Enter the Expression, then select Validate to determine if it is a valid expression. There is a Notes field available, if needed.
- From File
- Select this option if the data being mapped is in one field in the data file. If the data file format is delimited, then enter the Column. If the data file format is fixed, then enter the Begin Position and Field Length.
- From List
- Select this option if the data being mapped is available from a list rather than coming from the data file. Select the appropriate value from the Selected Value drop-down list.
- Merged Fields
- Select this option if the data being mapped is in multiple fields
in the data file. Select
 Add to add all fields. If the data file format is
delimited, then enter the Column for each field. If the
data file format is fixed, then enter the Begin Position
and Field Length for each field.
Add to add all fields. If the data file format is
delimited, then enter the Column for each field. If the
data file format is fixed, then enter the Begin Position
and Field Length for each field.
Note Not all Field Source options are available for all identifying fields. -
Select
 Refresh in the Parsed and
Processed views to see the data for the new
field.
Refresh in the Parsed and
Processed views to see the data for the new
field.
Changes made to the File Layout Setup page take effect when the next daily update or monthly update
is performed.