Completing the Daily Update Process Manually
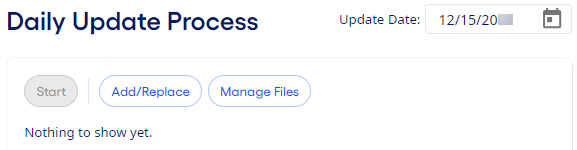
You can complete the daily update process manually on the Daily Update Process page if daily files are not uploaded through the secure server or if you must reprocess records.
-
Select from the menu.
-
Select Add/Replace.
Tip Files that are not associated with a file type or a layout show as Unmatched in the list of extract files to process.
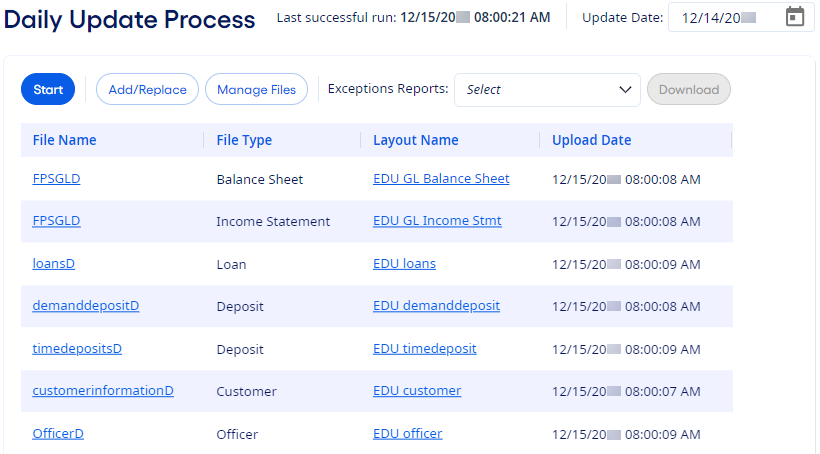
After the files are added and/or assigned, the file set appears in a grid.
-
Verify that the appropriate data files appear, and modify the files as needed.
You can select the File Name for a file to download it. You can also select the Layout Name to open the File Layout Setup page to modify the file layout and data mappings.
Use the
 Delete option to remove files as needed. You can delete unmatched
files or ignore them. The daily update process ignores unmatched files.
Delete option to remove files as needed. You can delete unmatched
files or ignore them. The daily update process ignores unmatched files. -
Select Start to run the daily update process.
A progress bar appears to show the current stage of the daily update. During the first In Progress stage, the application begins interpreting the information in the data files and validating that the information can be processed.

Progress messages appear as the process moves through the update and post-update stages and steps. If a problem is encountered, then a troubleshooting best practice is to note the current stage and step of the process.
The Daily Update Process page shows the day completed as the Last Successful Run.
If no problems are detected, then the process runs until it completes, and you are notified that it was successful.