You can add files on the Manage Files page for the daily update process and the monthly update
process.
-
Select Update,
and then select either Daily Update Process or Monthly
Update Process from the menu.
-
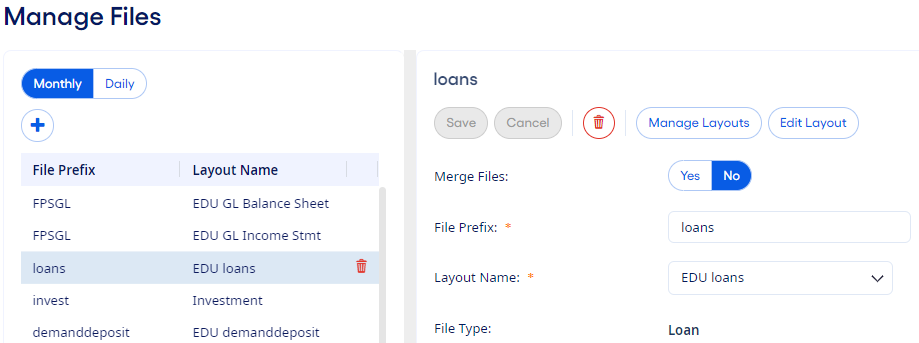
Select Manage Files.
The Manage Files page opens and shows a
list of file prefixes and layout names for each file. The information and options
associated with the selected file also appears.
-
Select the Daily tab to edit a daily update process file, if
needed.
The Monthly tab is the default. These
tabs are only available if your institution is licensed for using the Daily
Dashboard.
-
Select
 Add to add a file.
-
Complete the required fields.
- File Prefix
- Enter a prefix for the file. The prefix must match the beginning
characters in the file name. For example, if the naming convention for the file
is loansMMDDYY.csv, then you can enter the file prefix as
loans since the remaining characters in the file name
are different each day or month. The file prefix must be unique for each unique
file that is set up.
- Layout Name
- Select the appropriate layout for the new file. If there is no file
layout set up for the new file yet, it is recommended to set up a file layout
prior to adding the file by selecting Manage
Layouts.
-
Select Yes or No in the Apply
To Daily or Apply To Monthly field, if
available.
If you are working with monthly update files, then the Apply to
Daily field is available if it applies to the selected file. If you are
working with the daily update files, then the Apply to Monthly
field is available.
Selecting Yes copies the file settings to the other update
process.
Note Investment and borrowings file types are not available to import during
the daily update process.
-
Select Save.
You can select
 Delete
 to delete a file, if needed.